I will explain how to remove Alludesgroup.com pop-ups from your computer or phone. First, let’s understand what Alludesgroup.com is.
How to fix Realstkozirads.com ads?
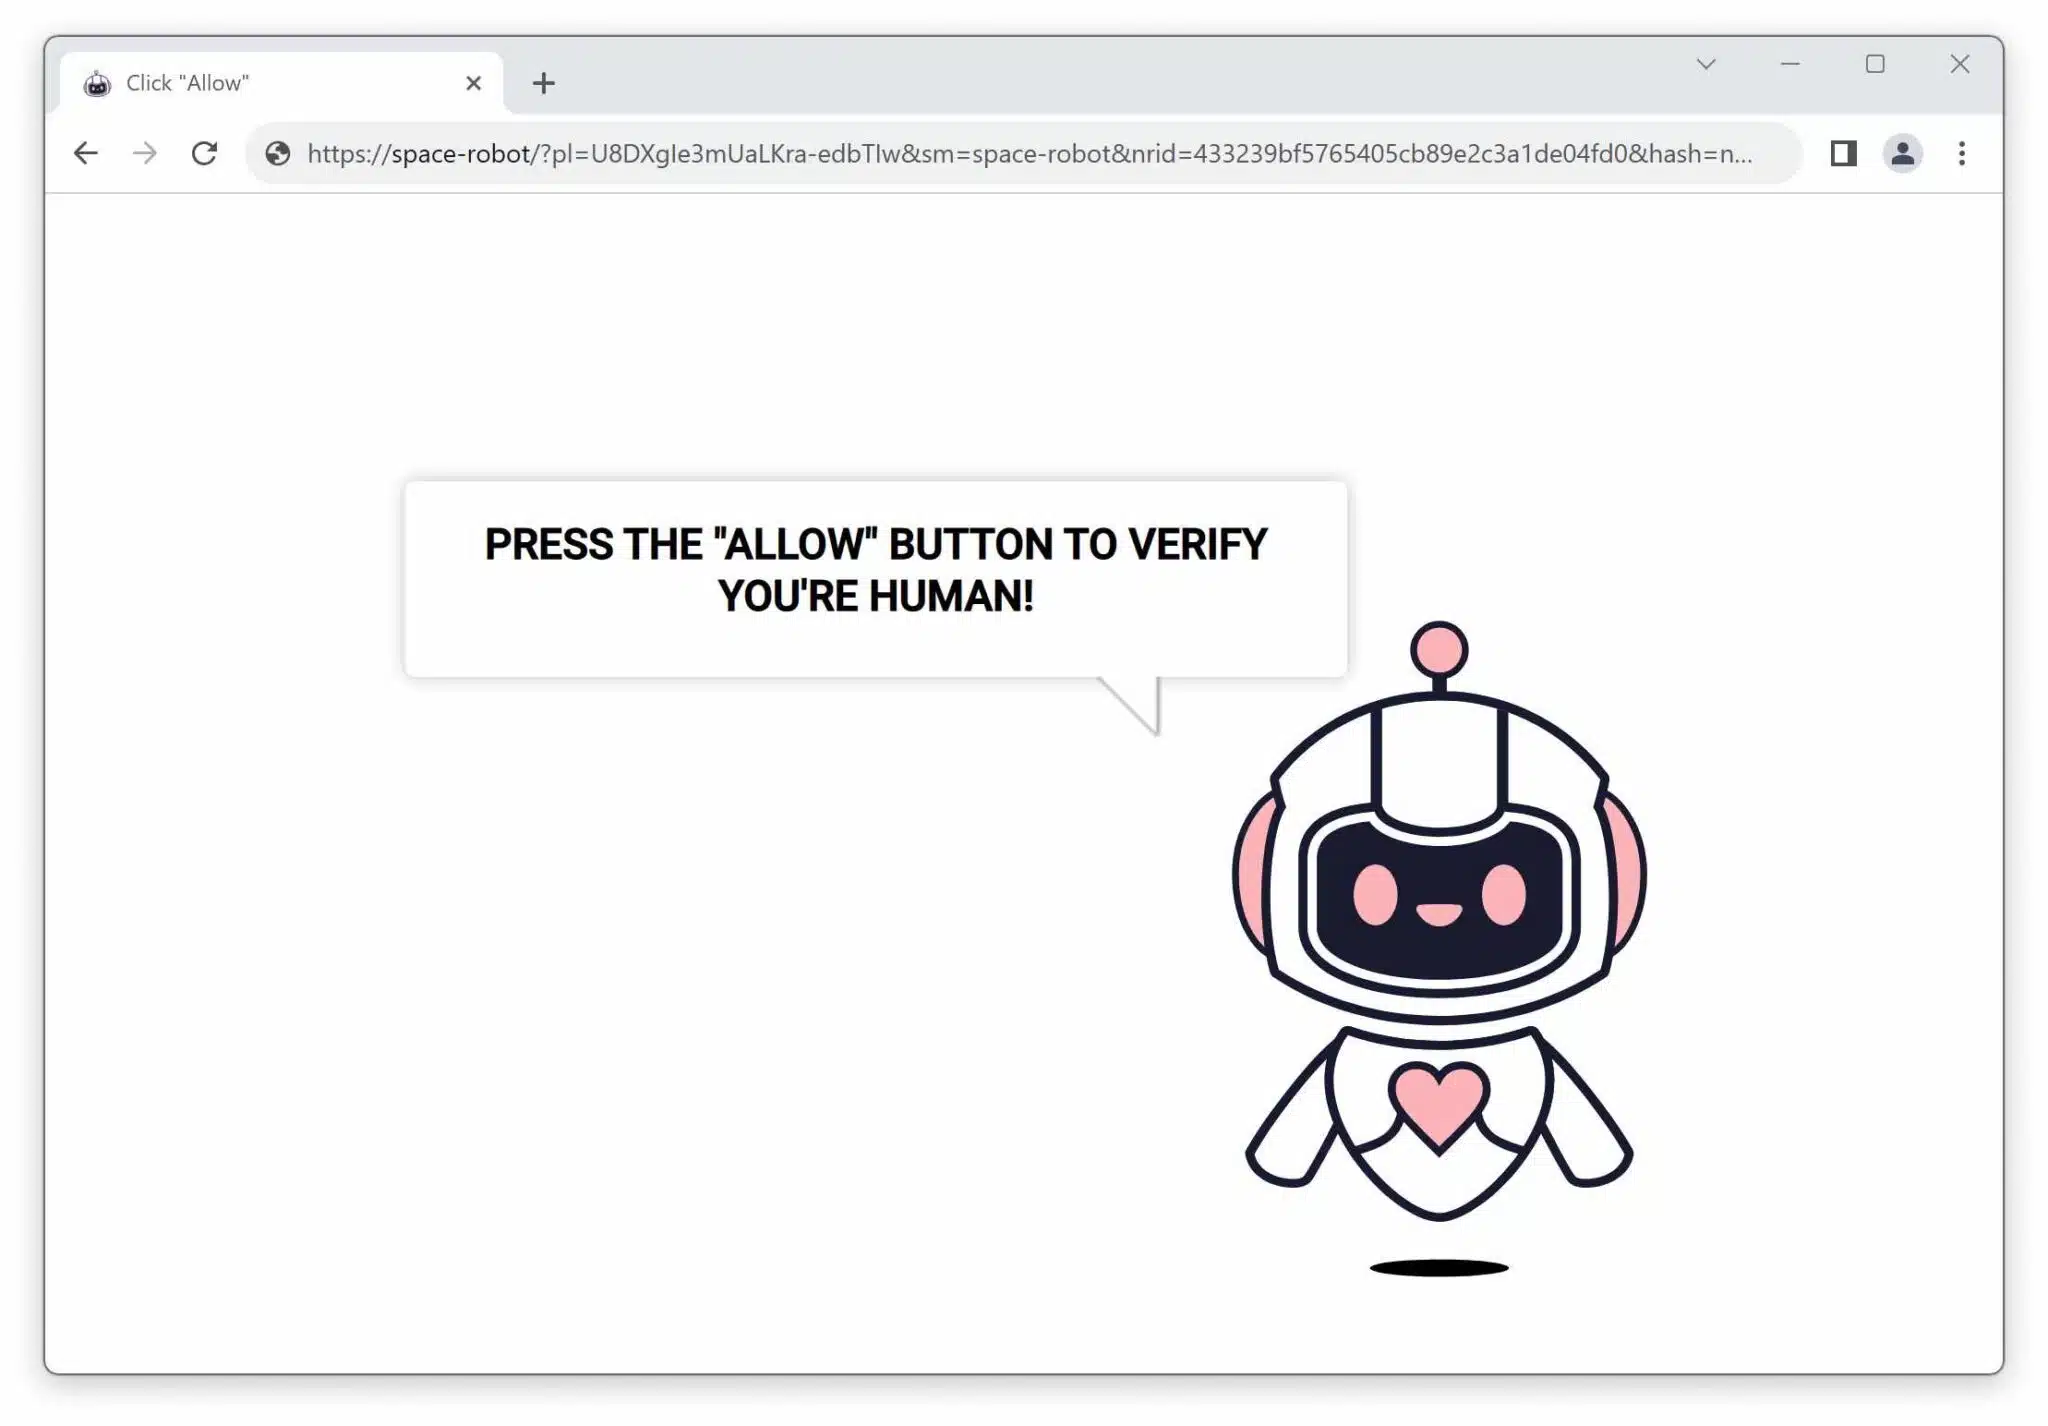
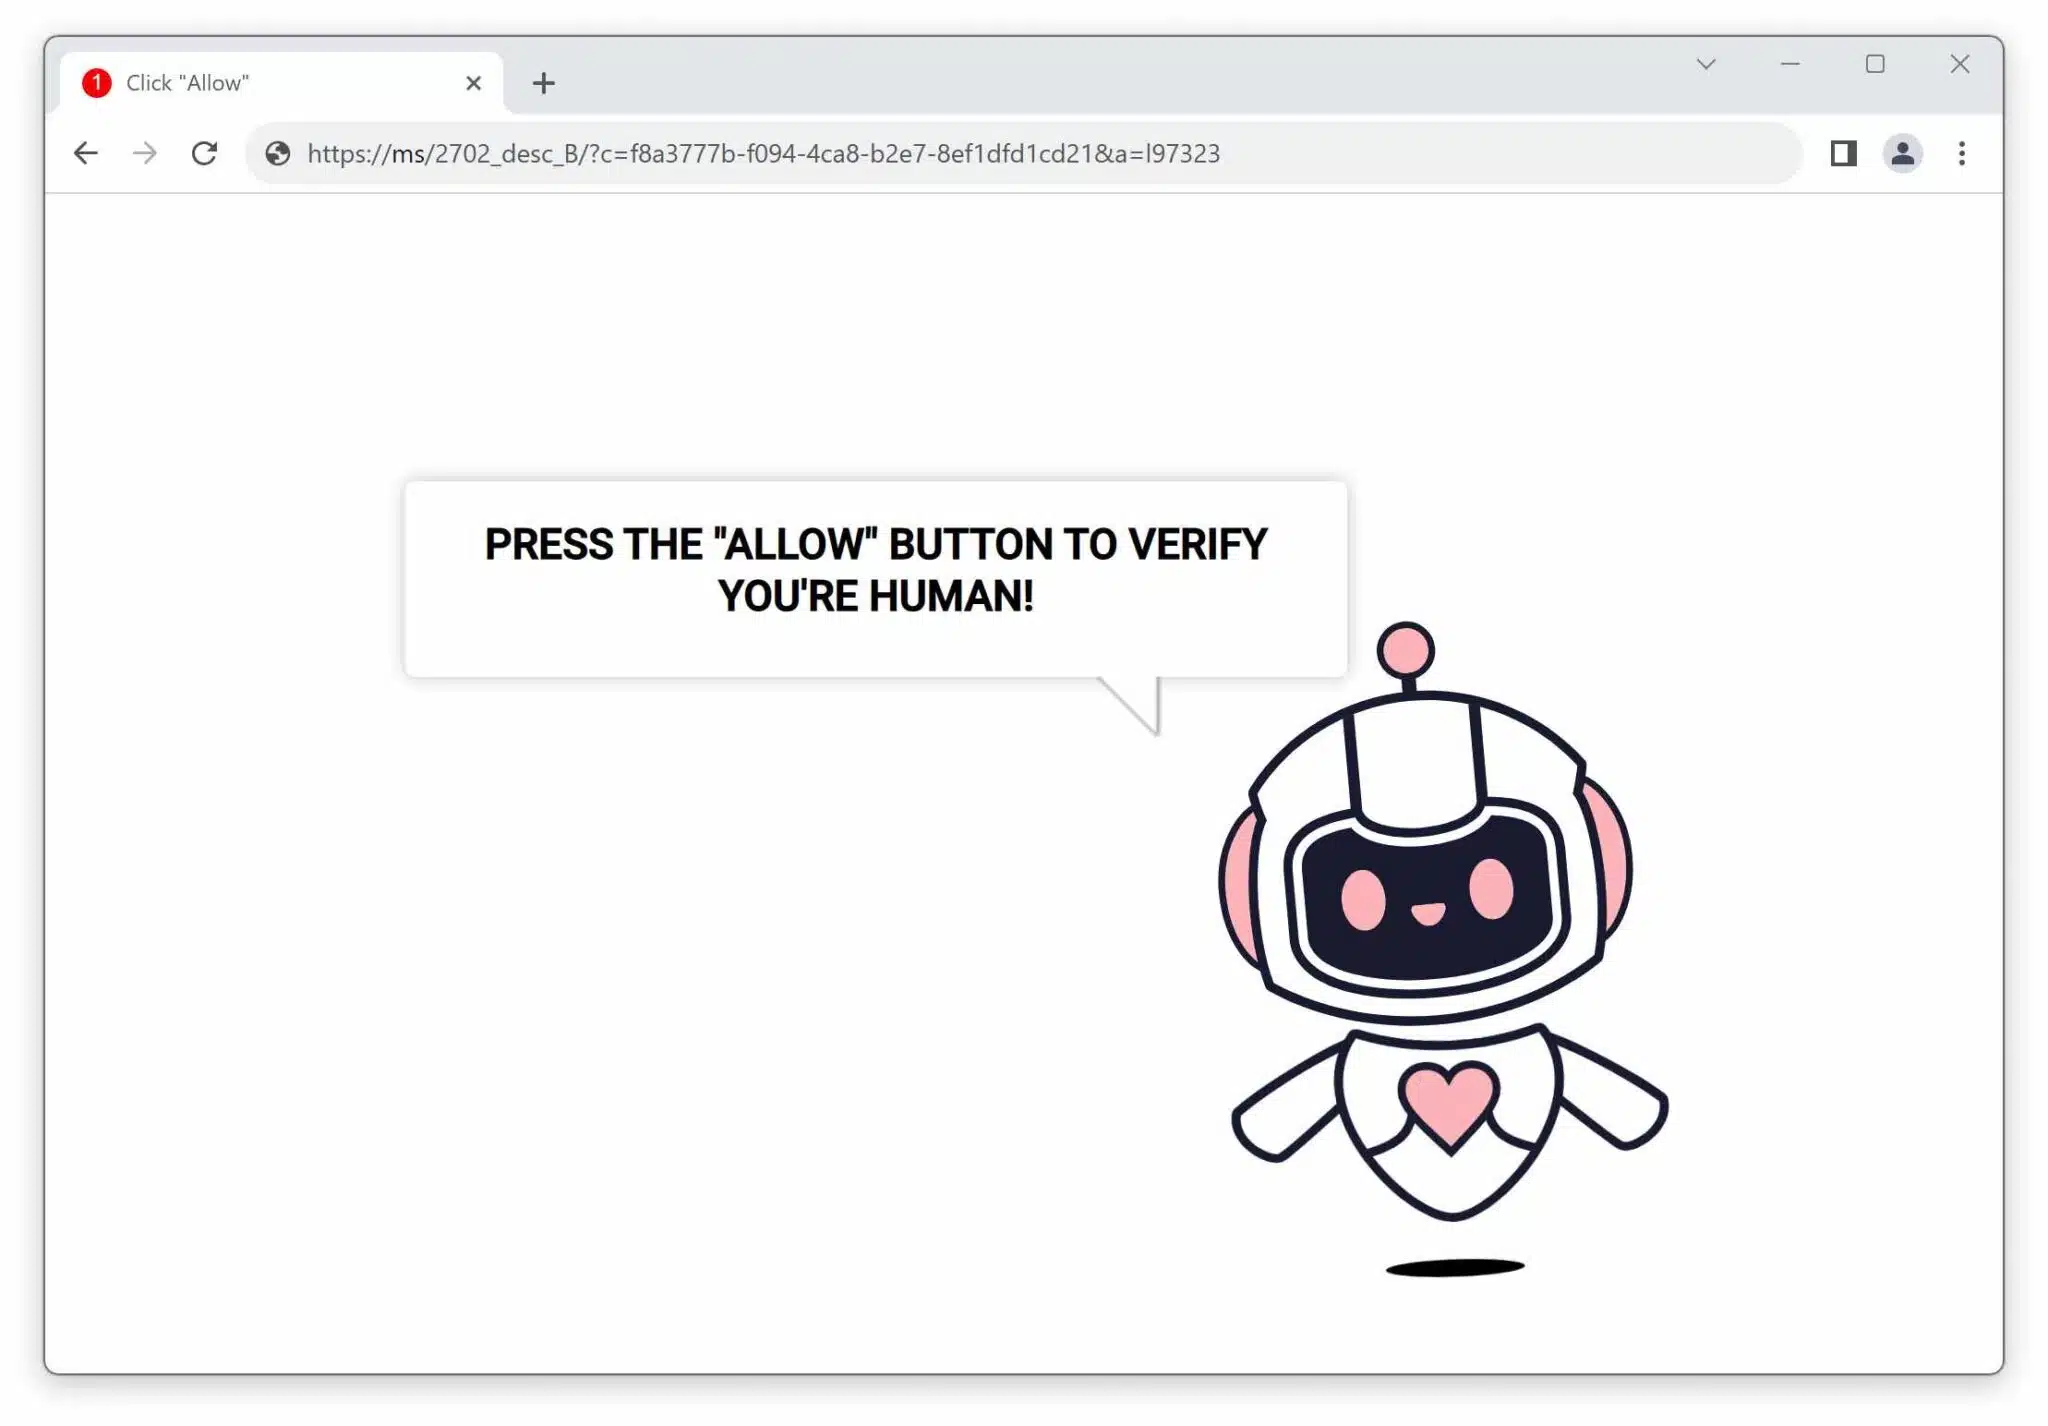
My recent jag of spam site sleuthing unveiled a nasty one: Realstkozirads.com. This site, which masquerades as something else, tries to trick you into subscribing to its push notifications.
How to delete Onehortensia.com ads?
I will explain how to remove Onehortensia.com pop-ups from your computer or phone. First, let’s understand what Onehortensia.com is.
How to fix Getakidsfilms.com ads?
My recent jag of spam site sleuthing unveiled a nasty one: Getakidsfilms.com. This site, which masquerades as something else, tries to trick you into subscribing to its push notifications.
How to delete Unfreeads.com ads?
I will explain how to remove Unfreeads.com pop-ups from your computer or phone. First, let’s understand what Unfreeads.com is.
Ldkiadcenter.com removal instructions (easy step by step guide)
I will explain how to remove Ldkiadcenter.com pop-ups from your computer or phone. First, let’s understand what Ldkiadcenter.com is.
Globalwoldsinc.com removal guide (Look no futher)
My recent jag of spam site sleuthing unveiled a nasty one: Globalwoldsinc.com. This site, which masquerades as something else, tries to trick you into subscribing to its push notifications.
Junctionspeedforum.co.in removal guide (Look no futher)
My recent jag of spam site sleuthing unveiled a nasty one: Junctionspeedforum.co.in. This site, which masquerades as something else, tries to trick you into subscribing to its push notifications.
Thenetaservices.com removal guide (Look no futher)
My recent jag of spam site sleuthing unveiled a nasty one: Thenetaservices.com. This site, which masquerades as something else, tries to trick you into subscribing to its push notifications.
Realstkozirads.com removal instructions (easy step by step guide)
I will explain how to remove Realstkozirads.com pop-ups from your computer or phone. First, let’s understand what Realstkozirads.com is.